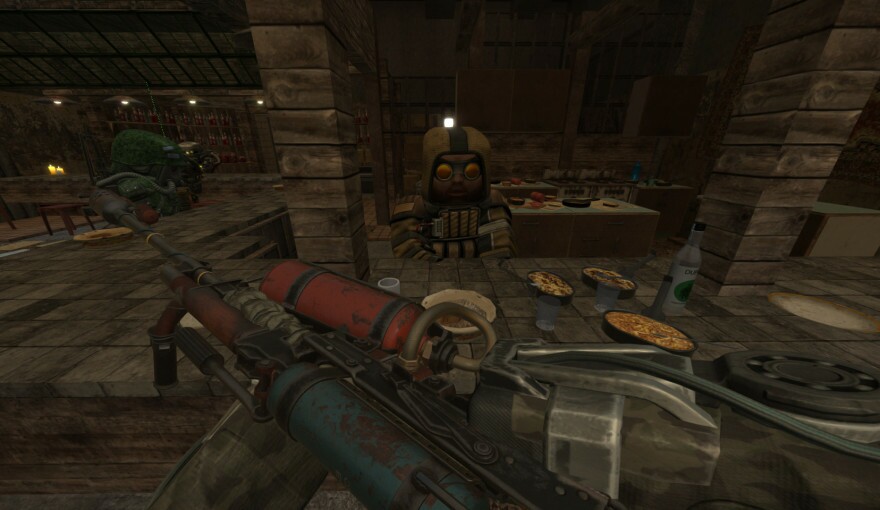
Artifacts are anomalous formations that endow the player with certain abilities, increasing the speed of movement, maximum HP, or protecting the player from the effects of the zone, such as radiation, bio-contamination, etc.
It's pretty simple, playing Stalcraft, once every 3-6 hours. there is a surge of deadly anomalous energy, called a BLOW, as a result of which artifacts appear in the anomalies. The player can pick them up, after which he is faced with the choice of selling it or using it for his own good, such as assemblies.
Artifacts are divided into several types, it all depends on what anomalies you got it in:
The quality of an artifact also depends on its percentage:
Также рекомендуем сайт наших партнёров — ТОП лучших игр.
In our game there is a so-called system of improving artifacts, or in the people "Sharpening". Its essence lies in the fact that with the help of some manipulations to raise the potential of artifacts, as well as their characteristics. At the conditional "Spiral" to increase the speed of movement or reduce the effect of radiation.
It's very simple, you need to do a few things:
After that, you approach the scientist, put the artifact and the catalyst in special slots, and then upgrade them:
You will need to find proto-artifacts (Obtained by closing an anomalous rift) suitable for your artifact. It all depends on what anomaly they were born into. (See the first paragraph "Types of artifacts"). Approach the scientist and restore the charge.
Additional Information
When upgrading artifacts by +5, +10, +15, you get additional artifact properties. Reducing the impact of infection, increasing the main characteristics, or obtaining new effects such as "Healing Efficiency", "Health Recovery", etc.
There is a huge amount of armor in the game, but it becomes comparatively weak without a good build. Compare for yourself, a person who has 300 reduced damage without assembly, and the same player only having 30 health, and 80 more healing efficiency, thanks to the assembly. The chances will no longer be equal. So, these same containers are needed for twow to make your character even stronger by assembling.
But how do you choose your container? You need to go to the characteristics of the armor (RMB -> "Modification" / "Statistics") and see the compatibility with containers and backpacks. Then go to the directory and choose a container for yourself.
When you have decided on the container, I advise you to study the characteristics of the artifacts themselves, after which you can go to the stalcalc.ru website and build an assembly for yourself there.
If you are too lazy to assemble them yourself, I can offer several ready-made assemblies for some containers (See next paragraph).
Berloga - 4:
Cocoon:
KZS-5:
There is also a table for creating assemblies for the withdrawal of various infections under the protection of your suits. (Assembled individually for your suit protection.)
Stalcraft Infection Builds" alt="Stalcraft Infection Builds" width="60%" class="lazy" data-src="/storage/uploads/guides/2022-12-12/dd4fdfe5f6d9168d90b26049175b6714.jpg">
The developers of Mobile Legends: Bang Bang are preparing a large-scale update called “Breaking the Waves”, which will be available on March 19. Players can expect a new hero, new events, rewards, as well as changes to the seasonal system.
