All materials on showgamer.com are protected by copyright. Partial copying is permitted with an open (for search engines) link. ShowGamer (2015)
Gardens is Steelrising's first playable location. In an attempt to please the queen, you have to make your way through the legion of robots.
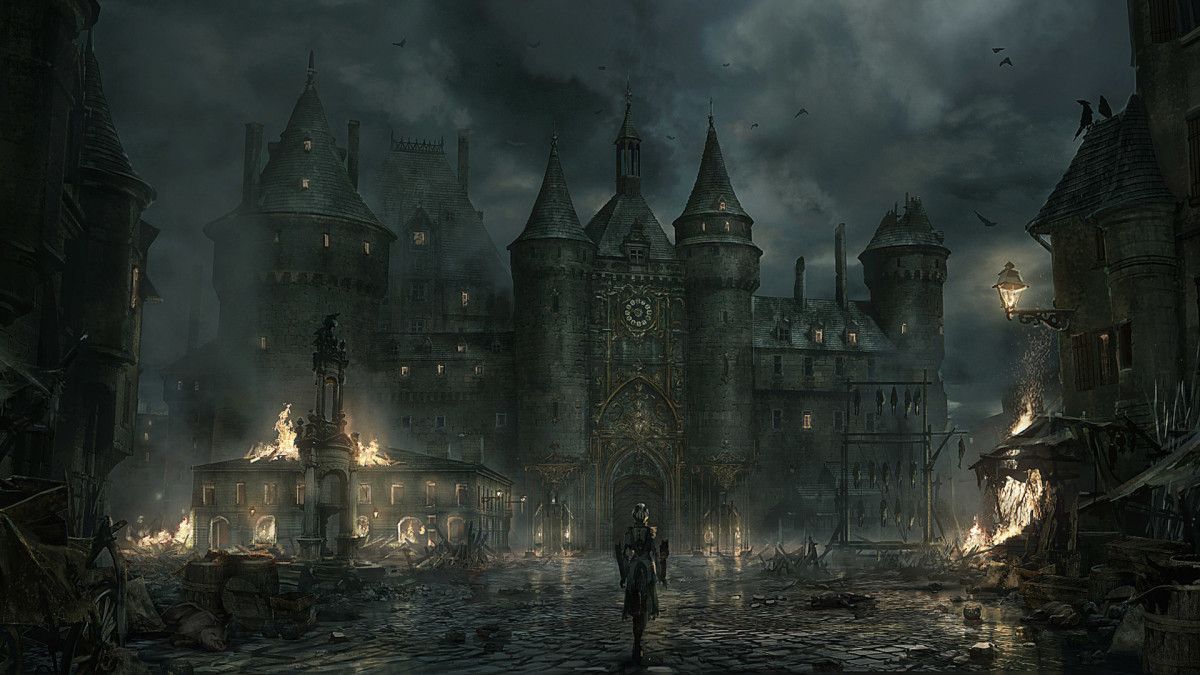
Saint Cloud Castle is a location that introduces you to Steelrising. There are no difficulties here. You will fight one on one with simple automatons, following a linear path. This is a great opportunity to learn management. Near the end of this section, you can turn left from the gate to find some souls. As soon as you pass through the gate, you will find yourself in the first real location.
Once you enter the Gardens, you will have two paths that you can take. The path ahead leads to an alternate version of the campfires (Steelrising save and upgrade point). On the left, a vial of oil is hidden in several barrels. Next to it is an automaton. Once you've dealt with the automaton, follow the given path to return to the area with the fire. Interact with him to level up, buy new items and upgrade equipment. This will also refresh the oil reserves, although there is a downside - all defeated enemies (except bosses) will respawn.
Immediately after the fire, go down the stairs and fight the automaton; you can act covertly. Next will be the second fork. The main path leads to the left side, so first you need to turn right. Follow this path?? to the big fountain. Do not rush, otherwise you will have to fight with two automatons at once. Try to lure only one of them. Once you've killed both, open the chest, grab a new hat, jump off the balcony to return to the bonfire.
Return to the last fork and turn left. Be careful as there is a sneaky automaton lurking around the corner to your right; eliminate it as soon as possible so as not to fight with two enemies at the same time. Now follow the path to the river, where you will meet another automaton. Kill him by stealth.
Также рекомендуем сайт наших партнёров — ТОП лучших игр.
In the next location, in the corner is a treasure chest, which contains the first class 1 longevity module. Take it, kill the automaton and go to the next area. Get ready for your first boss fight.
You will meet the enemy in the arena filled with the corpses of soldiers. As soon as you approach the boss in the center of the area, he will attack you. However, before you do this, keep in mind that there are automatons hidden around the arena. If you get too close to certain areas, they will activate and attack you. One of them is at the very beginning, hiding in the building on the right. It is difficult to see him, as he hides in the shadows. get rid of him before getting the attention of the boss.
The first boss is fraught with certain difficulties. He is extremely aggressive, has a ranged attack and several in?padov in close combat. Don't move sideways as the enemy will hit you with most of his attacks. Instead, use the classic soul like technique. Roll towards this robotic monster, behind your back and attack from behind.
As a rule, all melee attacks of this boss have the same character. The enemy temporarily freezes: this signals that you should dodge or raise your shield. He has one very fast attack - a kick, and although he can take you by surprise, such a kick does a minimum of damage.
If you have a weapon with a shield, then the latter can absorb all the attacks of the boss. Thus, it is possible to attack head-on, using a block and counterattacking. If you move too far, the spearman will charge his cannon. This is the only moment when you need to dodge to the side, although the projectile can also be blocked with a shield.
No wall of fog will stop you from retreating. Thus, at any time you can return to the previous area and heal (without restoring the health of the boss itself). In addition, the boss will follow you halfway before turning around and walking back, which means you can lure him out, wait for the enemy to move towards the arena, and then attack from behind.
After leaving the arena where you fought the boss, use the fallen tree to climb over the gate. From therejump down to the road and open the treasure chest. You will receive the Charleville 1789 Shield Musket, which may be part of your best build in the later parts of the game (very useful). Go down the road and you will soon come to the Lantern area. Defeat the automatons on the bridge and take the armor pieces from the treasure chest.
From here you will see two staircases and a fountain between them. Once you get close enough, a snake-shaped automaton will fall into the center of the fountain. These opponents have some quick dodge moves and love to breathe fire. Just wait for them to start attacking with fire, go around and attack with a charged blow. Climb the stairs, kill the two standard automatons and open the treasure chest to get the compass and Nemesis Claws weapon. Now look for a hole in the retaining wall. As soon as you enter this hole in the wall, slide down the hill and find yourself in the forest.
At the very beginning there will be a Vestal. Activate it before continuing. You will encounter some automata right behind the Vestal, including another automaton with a snake body and a Lancer type (a weaker version of the boss you just fought). Once you've taken care of Lancer, open the treasure chest near the well. Inside is a Lavoisier catalyst. Lavoisier's Catalyst can be used to upgrade your flaskWith butter! From here, you can go left or right (although there are goodies in both directions, so you'll want to take a spin).
To the left is an abandoned farmhouse. There is a treasure chest in the shed next to him, which contains Falchion and Saber's weapons. However, inside the same barn, hidden behind the ruins, is one of the fire-breathing machine guns with a snake body. So be sure to take care of them before taking the chest.
A little to the right of the well there is a downed machine gun leaning against the wall. The key to the module lies at their feet. Destroy the automaton guarding their body and take the key. If you continue down this path, you will come across another automaton with a snake body. If you're not quite used to fighting them yet, you can go around the farm with Falchion and Saber and sneak up on this sneak attack machine.
As you can probably tell, if you circle in either direction, you will end up in the same place: the pier. Until you have the key to open the door, the fence to the left of it is comfortably curved for you. Climb up and continue to the next area. Now you need to fight the Unstable Lightning Ram boss.
Unstable Lightning Ram has multiple attack sequences. They have a charging ram attack, which is enoughit's easy to dodge. They have ram attack combos, but these attacks are just as linear and easy to dodge as the offensive version. He has another combo attack in which he does two wide slashes with his club. This attack is super telegraphed, but the timing is wobbly enough that you could end up getting hit by it (especially since it hits far and wide).
Finally, the Unstable Lightning Ram has a lightning-infused attack as it jumps into the air and falls to the ground, creating a dome of electricity. If you see him jumping, you need to run as fast as possible. So how do we defeat this big boy? Well, you'll want to spin the Unstable Lightning Ram.
Most of their ramming attacks will be felt as long as you circle around them, allowing you to attack from behind. Of course, it won't work for this wide-swinging combo, but again, this move is very, very telegraphed, so just get ready to dodge when you see Unstable Lightning Ram pack a big hit. Finally, when you see him jump into the air, run away.
Speaking of that lightning attack; when Unstable Lightning Ram lands and generates this electric field, this is a great opportunity to charge up your attack if you are using a halberd (if you correctly identifydistance, you will be able to launch a fully charged attack the second the electricity runs out). scattered). Or, if you're using any other weapon, you can shoot Unstable Lightning Rams while they're blocked in this attack.
Spinning around, dodging big hits, and backstabbing is definitely a fun way to defeat this boss, but what about some good old cheese?
*sigh* Insert your shield musket into your alternate weapon slot, shoot Unstable Lightning Ram to freeze it, then when it freezes, switch back to your primary weapon and fully charge your attack. After landing a fully charged attack, Unstable Lightning Ram will be dazed, so land a second fully charged attack. Now back to freezing the huge Automaton with the shield musket. Rinse and repeat until he dies. You are a monster.
Your reward will be a Class 2 Stable Charging Module and a Module Key. After you've finished off the boss, don't forget to smash the barrels and crates in the boss arena, there are a bunch of goodies hidden inside (nothing special, just a lost soul and a few bombs).
Go straight, activate the Vestal. If you standthose facing the vestal, left, right and straight ahead of you will be paths. All of them, except for the path to your right, will be inaccessible. So go right. On this street you will encounter an assault rifle and two panther assault rifles. This is your first time fighting panthers, but they are not particularly strong. They are easily hit and die fairly quickly. However, they always come in pairs, so try to group them together and hit both at the same time.
Now take the first turn left and head towards the well, but be careful, there's a sneaky machine gun with a snake's body in the trees. Shoot the machine gun out of the tree, and then finish it off. Take a flask of water from the well. You will need this later.
As you run down the street, there will be a church to your left with a small graveyard; ignore it for now. Keep walking down the street until you reach the end. Continue to follow the path that turns right; you will come across two more Panther assault rifles and another standard assault rifle. Kill them and enter the next area with a machine gun in the body of a snake.
Turn the corner and you'll take on another Lancer-style automaton. Once you kill him, clear the area of all treasures. The townspeople will ask you for water. Fortunately, you have already taken a flask of water; give it to them and you will complete your first citizen quest. Now open the gate and you will return to the main road.
Go back to that church with the cemetery. Clear the machine and get ready to fight with your first ball and chain machine. These guys hit really, really hard. So don't forget to select your shots. They also have fairly long-range attacks, but they are all pretty telegraphed. When they bend they are about to perform a spin attack. As they step back, they are about to throw one ball towards you.
Finally, when they tilt their body back, they are going to gather both iron balls together in front of them (this attack deals a lot of damage). You can interrupt their attacks with your own fully charged attack, but you might be better off just freezing them with your shield musket. The more you fight them, the more you get used to their range of attacks, but they can be intimidating at first.
As soon as you exit the cemetery, turn right and go down the alley. You will have to fight another one of these ball and chain machines. Once you defeat him, you will find a treasure chest: it contains a level 1 critical health module. Exit the alley and look to the left;
you will be fighting another Ball-And-Chain machine as well as a Panther machine. Once you've cleared these two, open the treasure chest and you'll get the Fire Chain weapon.
Now move forward and you will face a giantskim fire. Before engaging the automata clustered around the fire, sneak around the perimeter and open the gate (this will take you back to the vestal). This is a good time to go back to it, level up and upgrade your weapons (the fire chain chest also gave you the bronze you need to do this).
From the giant campfire, clear another Lancer, a Ball-and-Chain, and a normal Assault Rifle. We recommend starting with the Lancer as they will shoot you all over the place. After you kill the villains, you'll want to jump onto the houses above you and to the left (around where Lancer originally stood). Here you will find a chest with Muskadin's Armor Set. Now exit the house through the back door.
The next area has some Panther assault rifles and a Lancer assault rifle (acting as a sniper). Once you've taken them out, take the path on the far left, destroy some more panther automata, as well as the automaton with the snake body, and then open the gate (this leads back to the vestal).
turn around. Go straight from the gate and then turn right; there are two ball and chain automata. You'd better draw one away from the other so you can fight them one on one, but you do it. The module key is next to a fallen automaton (leaning against one of the houses) in this area, so don't leave without it.
Once you get to the gate,leading to the workshop, they will be tightly locked. However, there is a crudely built bridge on the left that goes over the gate. But before you cross it, turn around and walk along the path that goes behind you. You will fight two machine guns with a snake body. One of them will be hiding in a tree (they seem to like it). There is a chest with an efficient Class 2 Charger here. Now go back and jump over this gate to the Esplanade of the Invalides.
There are four ball and chain automata in this last area. We recommend fighting them one on one. Luckily, they are not grouped together, so you shouldn't have any trouble isolating them. Once you've cleared them, run through the garden collecting all the goodies and open the gate leading back to Gros Caia. Now enter the workshop and take Diana's armor from the treasure chest. And on this you passed the first section of Les Invalides!
The action game also received a content update.


 Our YouTube channel
 Our VK group

.jpg)
