We bring to your attention a detailed guide to the passage of the survival horror Ebola 2, clearly inspired by a series of games of the same genre Resident Evil
Waking up, go to the phone and pick up the receiver. To interact, use the E key or LMB. After talking on the phone, leave the apartment. Upon arrival, go through the turnstiles and go down the escalator to the train. Get inside and start the train with the red lever in the cab. Once at the station, go outside and listen to the man in the suit. You need to supply food. Go down the stairs and inspect the transformer. There are two rows of four toggle switches. Every second toggle switch in the top and bottom row (that is, the second and fourth when counting from left to right) must be lowered, and let the rest remain directed upwards.
Go through the massive bunker door on the left and call the elevator. Go to floor 0. In the locker on the right at the beginning of the corridor there will be handgun ammo . Walk forward a little and turn left. Open the door and find yourself in the library. There is a typewriter on the table in front. There are also pistol ammo and ink (3). Saving with the typewriter consumes 1 unit of ink. On the left is a chest - it's something like storage. Secondm floor of the library, on the table are cartridges for a pistol and a document. To read found documents, press I and look for them in inventory. Hover over the document, right-click and select "Read" (LMB) from the drop-down list.
Exit the library and go through the door ahead. This will be a small living room. In one of the two wooden lockers is a box with master keys (4) . Use them to open the metal locker to find Shotgun Ammo . Go through the last door. Communication with the group will be lost. Behind the corpses there is a door that requires a key. Open the map and double click on this place to leave a marker for yourself.
Return to the ninth floor and pick up the hammer where the transformer was turned on. Return to the elevator and start moving through the different floors:
After descending to this floor, go forward and break the boards on the door on the left. Open it and you will see Amelia. Quickly run into her room and take the key from the table on the left. Use this key to open the door at the end of the corridor. Run forward along the corridor, breaking the boards on several doors. In the dead-end room, on the crate on the left is a pistol and ammo. Open inventory, right click on the pistol and equip. And then shoot at Amelia. Listen to the captain who saved you. He, along with his associates, is locked on the sixth floor. Jacob, who closed them, fled to the third floor. He must be found! Move in the opposite direction, searching different rooms. Be careful as you may be attacked by opponents. In one of the rooms (closer to the beginning), on the left, there is a lighter . In the room where Amelia was, there is a canister of gasoline and a key lying on a far pedestal.
The key from Amelia's room will allow you to open yeslnuyu door on the ground floor. There will be three doors behind it. Far opens without problems. To open the left one, you will have to burn the thickets (you need a lighter). And on the right is a chain. But you won't find any quest items here. Ride to the first floor.
Break the boards on the doors and go forward to the grate with a hole. Get through the hole. The main character will not mind, because now he has a weapon. Kill the enemy on the left and right. The door on the right leads to a safe room with a typewriter. The door ahead leads to a room with a document and a plant in a locked cabinet. Go to the left wing. At the end there will be a locked door, and on the right - a round bunker. Open it to get into the living room. In addition to the fuel canister and ammo in the locker, inspect the table on which lies the key to the third floor .
Open the door and go into the corridor. You will hear Jacob. He will hand over the key to the sixth floor if you bring his laptop located on the fourth. The door to the fourth floor is blocked by a missing gear. There are several doors in the corridor. Open the first door on the right, kill the zombies and set fire to the painting on the wall on the left. Keep in mind that you will need to use LMB several times to set it on fire. You will see the code - 1302. Then go to the secondth room on the left. There will be a man who hangs himself in a noose. Behind him is a closet. Interact with him and push forward. After moving the cabinet, take the newspaper and other supplies from the pantry. A newspaper is not a document, but an item that is needed for promotion! And now you will understand why. Then open the far door with code 1302, kill the enemies and inspect the room with the piano. You can play different notes to get code combinations. But now the piano is not needed.
Return to the second floor. Go through the first door ahead (which was opened with the key when they ran away from Amelia). Immediately turn right and on the right hand you will find a door with a key sticking out in the keyhole. This is where the newspaper comes in handy! Insert it under the door, press the key in the hole and pull out the newspaper with the key. This will take you to this room. In addition to the document and cartridges, there is a radio here. Turn on the flashlight on the receiver (Light On), then turn up the volume to the maximum and tune in to the wave with the music. There are two compositions. After turning on one of them, press ESC and look at the wall on the left, where the light from the flashlight from the radio falls. A treble clef and a four-digit number will appear there. For me it was 4755, but yours may be different!!!
Return to the third floor and gothose in the back room with the piano. Everything is simple here: only white keys are numbered, starting with "0". So you play the keys you need according to the score. A chest will open on the left. There will be a shotgun and a gear in the room.
When you're ready, go down to the fourth floor and open the door by using the gear. Walk forward and open the safe room on the right. Go further and to the left. Kill the werewolf and go down the stairs on the right (narrow passage). Downstairs there will be a corridor with four rooms. The first one on the left is locked, while the others are open. In the far room on the left there is ventilation, behind which there is a radio-controlled car. You can't take her. In the back room on the right, on the table, lies the golden key to the boiler room . Go back upstairs and open the bunker door on the side. Kill the werewolf and enter the room with the safe. To the left of the safe is Jacob's laptop .
Go down here and interact with the first room on the left. You will open the door, but you will find the decomposed corpse of Jacob. Interact with the corpse to get the key to the sixth floor.
Open the door and talk to the captain. On the left there is a grate with a dog. Pull out the key to the 8th floor from her mouth. Move?Go ahead and chat with different characters. Jill is standing closer to the entrance. She asks to get her hormonal pills, for which she will give a revolver. In order to get the key to Jill's room from the third floor, there must be one empty slot in the inventory! Also, the guy in the lab will ask you to dial his girlfriend and say that everything is in order. Here is the number - 7914166.
Open the third door to the right of the beginning of the corridor and take away the hormones lying on the bed. Give them to Jill from the sixth floor to get a revolver.
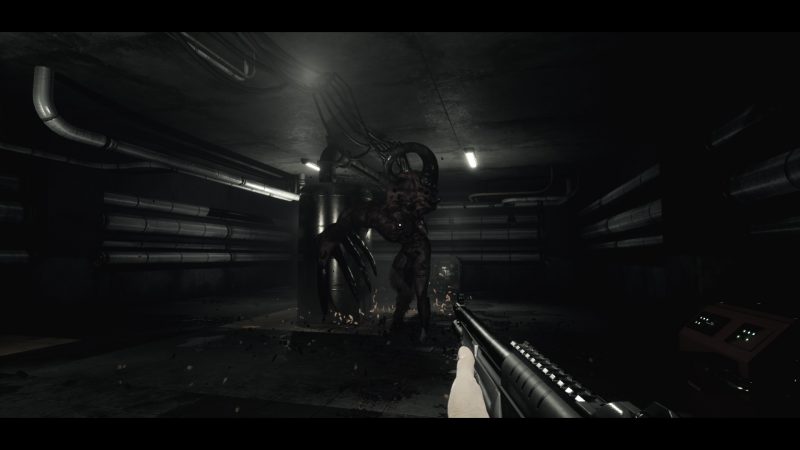
Follow to the eighth floor. The key was found in the dog's mouth. Walk forward and kill the first enemies in the tunnels on the left and right. The tunnel on the left leads to a door with steps behind it. Climb up and find the remote control. Pull down the lever to open the cremator shutters. A countdown will begin and the oven will close. So, now you know where you can burn someone. Go back and go through the door ahead (there will be a large mouth behind it). After destroying the monster, in the laboratory with flasks, find the radio control panel (from the typewriter) and the document. Go to the right tunnel. At the end there will be a door leading to a safe room.
Drive to the fourth floor and runinto the room where there is a ventilation grill and a machine behind it (read above). Interact with the grid. Driving the car, move left twice at the forks and you will see a sheet with a code. In my case it is 1928, but yours may be different. Go back and drive the car to the right to find the key in the dead end. The hero will say that you need to figure out how to pick it up.
Ride to the first floor and make your way through the hole in the grate ahead. Turn left and open the far door on the left with the boiler room key (read above to see where we found it). Be sure to take as much ammunition with you as possible!
Be sure to grab the plant for healing. After defeating the boss, inspect the pump. There are six tumblers. You need to set the water in three flasks at the same level (in the middle, there is a risk). To get started, learn how toggle switches interact with flasks:
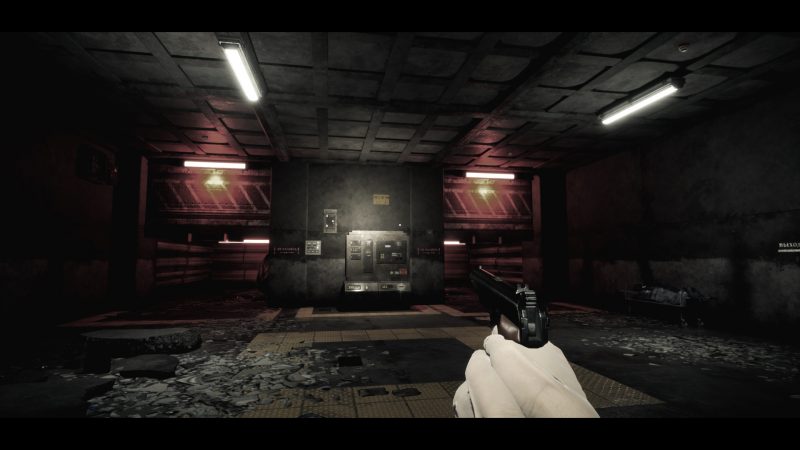
Use the third toggle switch so that levels 2 and 3 of the flasks are the maximum, and the first is the minimum. It remains to press twice on the fifth toggle switch. Now you can open the door on the 7th floor. But that's not all. Return to the corridor where you opened the door with the key to the boiler room. On the same side there is another room with a safe. Open it with the code that you saw in the ventilation when you controlled the machine. Inside the safe, you will find a magnet . With it, you can now pick up the key from the ventilation.
Return to the place where you need to control the machine. Now go to the key and pick it up. You can immediately disconnect from the car, because the rusty key with the tag 761 will be immediately in your inventory. In the same corridor where the room with the grate and the typewriter is located, there is another door from room 761. Open it with a new key! Take the scalpel from the table.
Drive to the eighth floor and go to the crematorium. On the gurney lies the corpse of the professor. Use the scalpel on him to cut out the eye. It is needed to access the seventh floor. But firstYou don't have to kill another monster. So, there is a cremator. You need to pick up the moment and open it so that the monster gets inside. But a huge eye growing on the side prevents him from following you inside. You need to shoot this eye. Even a regular pistol will do! After destroying the eye, quickly open the furnace and lure the monster inside. Repeat the steps twice to fry the boss. And then pluck the eye out of the professor's corpse.
Use the retina on the scanner to get to this floor. Previously, you had to lower the water level (read above). Having done this, kill the dog and go to the second room on the right to find cartridges and film on the shelves. You need to examine the film through the projector to see what is shown on it. Move through different rooms. You will need to kill monsters. One of the doors, behind which the mouth is located, is closed and requires a voice check. Behind the other door will be two dogs and cages. One of the cages contains a bolt cutter, but you need a four-digit code for a mechanical lock to open it.
Go further along the corridor with laser beams. First kill the enemy, and then ?Avoid the beams so as to go through the doors ahead. Don't worry, they won't kill you all at once anyway. Further to the left there will be a room with an enemy, but the door is closed with a combination lock. Go to the office ahead, destroy the enemy and examine the document on the table on the right. It says the password was changed to the year the Brooklyn Hospital was built. There is a telephone on the far side of the room. Detailed information can be found in the help desk, but first you can call Nikolai's girlfriend, as requested by the young man from the sixth floor (7914166). However, if you return to Nikolai, he will repeat the same phrase. There will be no reward.
Then dial 4096271. Each time you dialed a number, press the pound key to make a call. The reference will confirm the year of construction - 1997. Open the door of the previous laboratory, kill the enemy and take away the voice recorder from the table on the left. Go back to the door that required a voice check. Apply the voice recorder, open the door and destroy the monster. Set the film in the projector in the middle of the room and play through the slides. One of them will show a cage and the code 4405 (you may have a different one). Enter this code and take the bolt cutter from the cage.
To start with the bolt cutter, go down to the ground floor. Go to the far wing and open the door on the right, on whichhanging chain. Take the welding torch from the table.
Ride to the fifth floor. If you didn't break the ice before, break it now using the hammer. This way, get to the door with the chain. Cut it with a bolt cutter. Move forward through the cave, killing the crocodiles. Soon you will run into a door that opens with a welding torch. Behind her will be the boss, and to her right is a typewriter. Save. If there is little ammo and plants, go back to the storage. So, to defeat the Chameleon, you need to run from him in a circle and lure him to the spotlight. Turn it on at full power, as a result of which the Chameleon will become visible and will take damage. Put the whole clip into him until he disappears again. Repeat the steps, not forgetting to heal. Remember that the spotlight needs some time to cool down.
After the victory, search the corpse under the spotlight to get an employee's key . Return to the eighth floor, go into the tunnel on the right and immediately turn to the door on the left. Open it with the employee's key. On the dashboard on the right is a document with a verse. It is essential for solving the puzzle. But you won't be able to do anything until you reach the sixth level and kill all the survivors. Having done this, return to the generator at eight??th floor. From left to right, the red arrows should point to 5, 3, 2, 5. Run into the elevator, which will fall down. Go to floor 0. Walk forward and to the left. Watch the final video.

is there a guide for the DLC's ??
Walkthrough Stalker Return to the Zone - game guide (100% complete, all side quests and story)
All materials on showgamer.com are protected by copyright. Partial copying is permitted with an open (for search engines) link. ShowGamer (2015)