
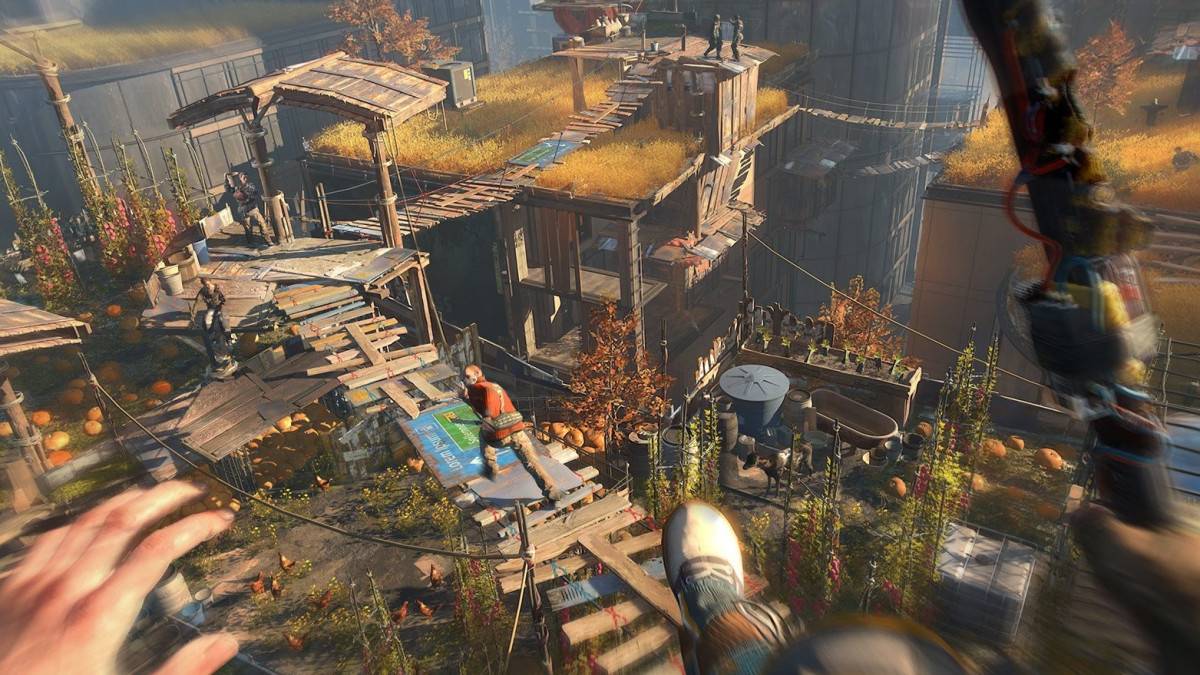
"Flaring" is the tenth story mission in Dying Light 2 , which will finally allow you to get out into the main part of the city and get into the center. And also meet Loan. Run along the marker and 80 meters from it, go up the slope to the right and jump over the rocks. Having reached the tunnel, try to open it. No power supply. There are ledges on the left. Climb up them and move along the mountain to the left. Climb higher and higher and soon you will be able to get over the fence (don't forget to lower the ladder) and get into the tunnel.
If you are looking for a walkthrough of other tasks, go to our game hub with a walkthrough and guides Dying Light 2 .
Go to its far end and try to raise the gate. Use the generator nearby. Go to the beginning where you came from and try to activate the second similar generator. Kill the monster. You need to dodge to the side several times until the monster runs out of steam. Then attack. Start the generator and watch the cut-scene with the appearance of peacekeepers and Aitor.
Follow the marker to the middle of the tunnel and open the door on the left. In the next room, move through the ventilation and jump up. Make your way through another vent and insert the cable into the generatorR. Jump on the rungs above the water and climb into another vent, as the door on the left will be locked. Continue walking back into the tunnel and watch the cutscene.
When you wake up, kill the enemies. For the first time, you will be able to use Aiden's hidden rage. Move along the marker, along the right side of the road, jump over the beams and other parts of the destroyed freeway. Go downstairs and clear the lobby of the car factory. Having done this, jump onto the raised car with a yellow rag on the trunk lid. From it, jump onto the suspended cylinders with yellow lines. Use them to get to the far left corner.
Climbing up, you will see another enemy. On the cot on the left, look for the note "Task in the tunnel" (commemorative souvenirs) . Kill all the enemies and climb even higher to Valtz. Watch the long video. Run away from Waltz towards the marker. Open the door and continue moving further through the train cars and other places. There is only one way, it is difficult to get lost. It will be a long chase scene. In the end, everything will be over. The task will also end, and you will find out that the sniper is the same Loan.
An incredible success for the studio's debut project.
In short, the company is aware of the problem and is solving it.
It will be an animated prequel series.
A free drone piloting simulator designed for schoolchildren and teachers. The game develops drone piloting skills in a safe virtual environment and is available on Steam.
All materials on showgamer.com are protected by copyright. Partial copying is permitted with an open (for search engines) link. ShowGamer (2015)


 Our YouTube channel
 Our VK group

.jpg)
