")
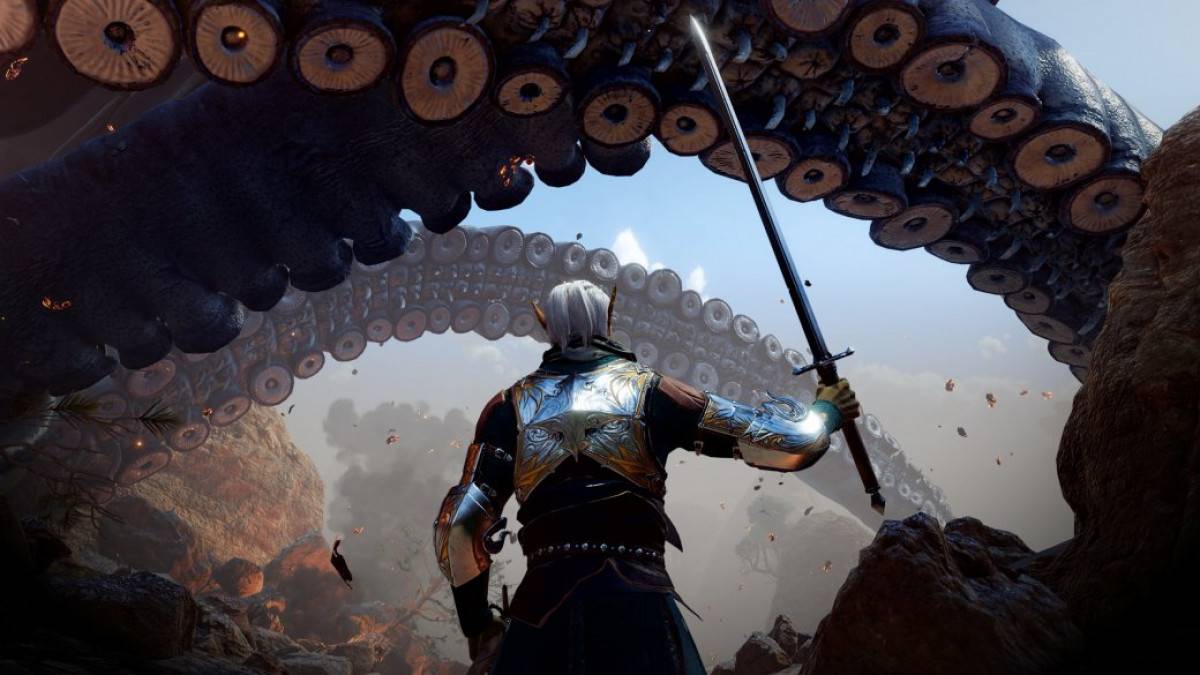
Enjoy the concussion as part of the nautiloid ship knocks you off your feet. If you cannot find a way to get rid of the parasite, you will turn into a mind flayer. So you better start looking for a healer.
Now that you've landed on the beach, you need to get your bearings. Where are you and how to get rid of this vile parasite? When using the minimap mentioned in Escape from the Nautiloid, remember that it showsheading north. You'll want to head north along the beach, where there are plenty of barrels and bodies to inspect. You can hold the left alt button to display nearby objects and bodies.
As you move north, you will eventually come across a woman breaking down a wooden door. Without any success, you can approach her and talk. When you start talking, you can recognize her from the ship where she is trapped. Here you will meet your first companion, Shadowheart. During your conversation, the strange telepathic connection with Laezel that you previously had returns.
You can try to help Shadowheart through the door by picking the lock. And as the conversation continues, you will have the opportunity to recruit her into your group. It is also worth noting that this is where you will find the first waypoint. It is located on the mountain to the left of the Ancient Door, which is called the Ancient Runic Circle. This is waypoint Overgrown Ruins. You will be able to move between all waypoints by interacting with one, or even fast travel from anywhere most of the time.
Once you've finished talking to Shadowheart, head back southwest. As you get closer, you'll notice purple debris, nautiloid waste, and more flames. But be careful, these Mind Flayers are not like that.friendly. Luckily, the three Death Eaters ahead had already suffered some damage from the crash. And as long as you're with Shadowheart, you'll be given some help in this battle.
Be sure to use the height given to you by certain ledges nearby. This will give a bonus when trying to hit Death Eaters and also make it harder for them. In addition, Shadowheart is a good introduction to many of Baldur's Gate III's spells. Her spells are laid out on the hotkey bar and ready to use.
")
Now that you've finished killing and looting Death Eaters, let's get back to another comrade. After leaving the wreckage and heading north towards the Wayside Cliffs, you will find your next comrade, Gale. He teleports into view using the nearest waypoint. After learning that he needs a healer to fight the parasite, you can recruit him into the group.
If you head east after meeting Gale, you'll come across a side quest that's still useful to complete. This quest unlocks a helpful NPC in your camp. In the meantime, let's find the third companion of your group. Move back westtowards the nautiloid wreckage and you will encounter a group of people. They gathered around the mind flayer trying to pull itself out of the wreckage. As you get closer, you will notice a telepathic glow around their heads. They're most likely controlled by a mind flayer.
By talking to people nearby, you can offer help and the man will tell you that this is his daughter. Otherwise, you can try a persuasion check to convince them that the mind flayer is clouding their minds. Depending on which path you choose, the outcome may be different.
Offering to help the group leads them to accuse you of the transformation and attack you. Successfully coaxing a group breaks their telepathic control. Upon realizing what has happened, they will flee in terror from your parasite.
When you're done interacting with this group of people, you can interact with the wounded mind flayer. Before proceeding, it is worth mentioning that this is optional. Regardless of your plans to fight them, he tries to manipulate your mind just like he does others. This conversation leads to two different paths depending on your choice and success on certain rolls.
Subduing a Mind Flayer immediately kills your character and starts a fight with a newly restored Mind Flayer. Successful intel check?Who and wisdom will break his control over you. This allows you to kill him or leave him for dead. And third, you can completely skip this interaction or attack it before interacting.
Start heading west through the rubble and then south when you're back on the mud. You will meet a man named Astarion who asks for help with the Death Eater. Whether you help him or not, the Devourer is actually a frightened boar that is running away. Astarion lied, trying to ambush you. Your choice here changes how this encounter will unfold, but either way, the parasite will eventually take over for both of you.
Completing this conversation will give you the option to recruit Astarion or leave him. You can ask him to come with you, saying that your chances are better together. Even though he plans to go alone, he agrees to join your group.
On the west coast, south of the ship, you can jump down to the stone path, inspect the stone, you need [nature skill]. After that, we move the stone with a [strong] character, under it we will find a chest, inside: a harper's card, a notebook, gold, a ruby (1600 gold). On the map, a description of the cache near the Moon Tower in the forest.
Broken Shore (Act 1)" alt="Baldur's Gate 3 Walkthrough - Broken Shore (Act 1)" width="100%" data-src="/storage/uploads/guides/2023-08-03/b97438be82ff7617e33ec1d540ce9dc3.jpg" >
We return to the ancient door, there is a chance that the rogue Astarion will be able to crack it. Inside the gas pit trap, their round holes can be closed by dragging a crate onto them. It's dark around, so we use night vision or a torch, we light racks with candles.
First, we examine the side crypts. We examine the sarcophagus in the center, there is a weapon and a key in it. A trap will work, fireballs will fly out of the side walls, we run back. There is a disable button on the right center column.
Behind the large gate in the hall lie buried scribes, one of them on the left has a heavy key. In the corner we find the book of the dead gods, we can open it with [magic, power, charisma]. If we open it, we get a page of the book, it can be read with [religion skill]. We learn that dead and reborn deities are described inside.
A little further on the column we will find a button, after pressing the tomb will open, but we will be attacked by rebellious buried scribes, 5 people. After the victory, we open the main sarcophagus, the Keeper of the Graves will rise from it, asking the question: "What is the cost of a single life among mortals?" He will say that we will meet again and leave. At the bottom of the sarcophagus we collect gold and onyx. Nearby in the chest we will find the amulet "Conversation with the dead".
Is there a lever and a ladder in the right cave?and the surface. Until we leave, we return to the main gate, on the left in front of them we can unlock the door to the bedroom.
At the entrance there is a locked door without a lock, to open it, we light two torches on the sides. A squad of 5 people will attack behind the doors. Better to defend behind doors.
After the victory, we examine the shelves with books, chests. There is a lever in the south behind the statue on the wall, it opens the front door with torches on the other side.
Further to the north we unlock the door, there is one enemy behind it, we will find the bandit's key from him. We collect food from the tables. Exit through the east door.
When we reach the surface, any path will lead us upstairs to the ruins of the chapel. We will meet 4 robbers. If we embroidered from the northern doors, we can [intimidate, deceive] or fight them. If we come from behind, we can just talk or [persuade]. 2 bandits on a hill, 2 more stand on a slab on which you can throw a hanging stone.
Further to the west, we will see that Laezel is locked in a lattice with 2 tiefling demons. We can use [deceit, persuasion] or join the battle. In a conversation, we can also pass [a test for persuasion], then we learn that the healer Nettie lives in the northwest. Left alone with Laezel, we pick up the bow, shoot at the bottom of the cage, and the prisoner will fall out. Her people know the cure for parasites, we must follow her. Companion - githyanka warrior Laezel.
Severn?? we will see how a squad of goblins pinched people, where you will encounter a new cutscene.
Three people outside the overgrown gate try to get inside, but before they can, a horde of goblins appears. It's good that you're here to get around the goblins and help them survive. Fortunately, you have help in this fight, but there are quite a lot of them.
Once the battle is over, the gate to the Druid Grove will open.
Warface launches the festive event Triumph in honor of Victory Day: the return of the PvP mode "Arsenal" and a new series of weapons.
The company hopes for a quick resolution to the problem.
FOSSiBOT, a brand founded in 2022 by a team of experts with over 10 years of experience, introduces F112 Pro 5G, the world's first eco-friendly rugged smartphone with a revolutionary approach to design and materials. After two years of development, the company releases a device that combines advanced technology, protection and a responsible attitude to nature.
He will be the last one for the game.
All materials on showgamer.com are protected by copyright. Partial copying is permitted with an open (for search engines) link. ShowGamer (2015)


 Our YouTube channel
 Our VK group

.jpg)
