")
After completing quests in the grove. We leave the grove through the entrance gate, go to the west. In the forest we will see how two people are trying to lift a wounded person, we can help him [medicine, wisdom]. A man was wounded by a bear, all together they were looking for fugitives here on the orders of the Absolute. Ed will still die, a parasite will crawl out of him, we can finish him [insight, strength, endurance].
A little to the south we will find the bloodless body of a wild boar. The rogue Astarion will get worried, he will say not to waste time on this. We can use [me??itsin], we will see two punctures on the neck of the animal. Next, apply to the rogue [persuasion, intimidation]. We understand that Astarion is a vampire, but he does not recognize.
We can go down under the bridge, find an open coffin, leather boots. There is a cart on the bridge, only dishes in the boxes. Behind the bridge are traces of a massacre and 2 survivors. The mercenaries will tell you that they are looking for the relic "Song of the Night", they promise to pay 10,000 gold for it. A druid went with them, but he died fighting the goblins.
In the northern part of the forest, a dog roams, next to its deceased owner Gomvik. We can talk to the dog Shkryab, convince him [attention, intimidation, persuasion]. He will tell you how the gnolls attacked them. If we try to prove to the dog that the owner is dead, then the animal will attack us. It is better to invite him to join later. On the body of Gomvik we can take 3 letters, one indicates the treasure in the grave.
To the right of the bridge, a descent down into the bear's lair, we enter the cave. On the way we inspect the bodies, take a pickaxe.
On a separate island is a gilded chest, locked with magic. Next we jump behind the statue, take the book, read it over the chest. Shadowheart will be against opening the chest of the moon witch, we can convince her [insight, wisdom, persuasion, intimidation]. Inside the chest: Selûne's idol, silver necklace, heliotrope.
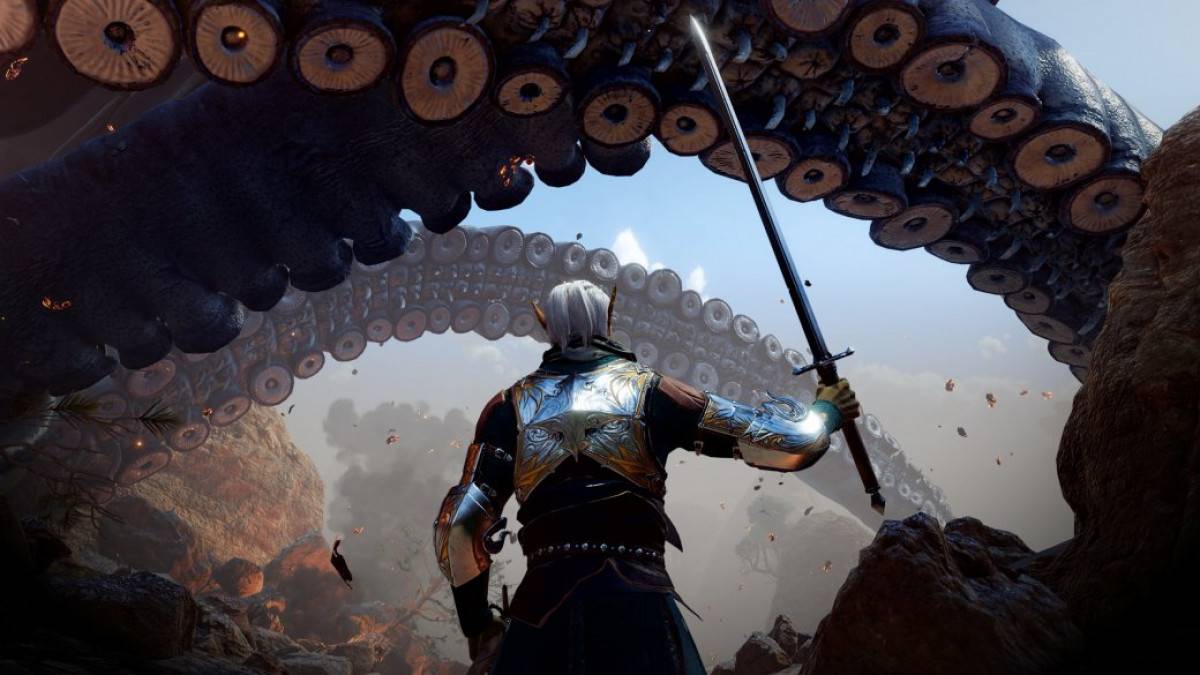
On the dark top we will meet the bear itself, you will have a chance to leave quietly if you passthose in the dialogue one of the skill checks of your choice. But if you kill the mother, then there is a way to get a companion - a bear cub. From the nest we can pick up the bear's egg, nearby in the bones is the armor Embrace of Silvanus (13, +1 dexterity).
(Way to tame a baby)
If we spend the night in the forest, the storyteller Raphael will come to our camp, introduce himself and move us to his castle. Will he turn into a devil later, offer his help at the spa?from the parasite, when we are disappointed in other ways. Let's go back to the camp, Shadowheart will discuss with us the appearance of the devil.
With us in the camp there will always be a hooded skeleton, he will be able to resurrect dead companions for 200 coins.
If you talked to the dog, it will arrive at our camp later. We will be able to train the dog, stroke it, from this we will receive the approval of all members of the group.
If the rogue Astarion remains with us, he will try to drink our blood. We can talk to him about vampirism. If we give him our blood, he will temporarily become stronger in battle. In the morning we speak with Astarin again, we go to bed again.
As you enter the village, the goblin on top of the building will threaten you with arrows as you move. This conversation represents a uniquely compelling use case for the parasite. Otherwise, you can try different throws to make them not attack you. Or you can directly attack them instead.
In the southern part of the village, in the barrel we will find the Damaged Old Helmet, Shadowheart will be interested in it, but will not explain anything.
There are 3 ogres in the west building, one of them is too intelligent. choose:
Behind the village in the northwest we will hear sounds inside the barn, a couple were making noise inside: an ogre woman and a bagber man. They will attack us.
")
At the windmill in the Dead Village you will find a deep gnome (svirfneblin) tied to a windmill blade. He is bullied by a group of goblins.
You can defeat the goblins by force or convince them to leave.
If Will is with you, there will be additional dialogue between him and the goblin leader Fezzerk. The battle will begin, but it is enough for you to defeat the leader so that the fight stops and he asks for mercy.
After that, stop the windmill (the "Brake" lever is inside).
To get this difficult quest, you need to get the weapon blueprints, which can be found in the forge in the Dead Village.
Keep in mind that you will need to open the forge door to enter. Once you enter, walk forward until you see two chests. Open it up and one of them should have "Blueprints from the High Cliff".
After you read these blueprints, the quest will begin..
Continuation of the quest in the dungeon.
We examine the building to the left of the entrance, we will find a book (task "Basement of the pharmacy"). We go down into the wooden hatch, inspect the barrels in the basement, collect rare herbs. There is a large closet in the corner, we inspect it with a high [attention] hero. The cabinet can be moved, the lever is on the left, hidden behind the top drawer. In the secret room behind the closet, we will go out to a clearing with coffins, 4 dexterous guards will rise from them.
We collect scrolls from coffins, read the Dark Diary. Next, find a decorated mirror, answer his questions. If we fail the dialogue, a fiery sphere will attack us. Answers:
In the center of the basement we collect rare ingredients, scrolls and books. Behind the bars, fire traps constantly work, we break open the door, put any object on the altar with a button, and the fire will stop. Inside we take the book Necromancy Thaya, it has not yet been opened.
Now you need to decide what to do with the book: read or destroy. If you examine it, you will notice a vulnerability from only one type of damage - Radiant. Although the focus spell Holy Flame deals this type of damage, it cannot destroy the book. But the Guiding Beam spell will do. For the destruction ofliant you will receive 50 xp. The task will be completed. (The book can also be given to Gale. He will drain the magical energy and destroy the book. A bug is possible in which the task does not close)
To read a book, you must first open it. To do this, you will have to find a special gem - Dark Amethyst. We go to the surface.
Under the eastern house there is another basement with a cave, you can get there in three ways: 1) go down into the well, 2) break through the web in the eastern house, 3) break open the doors to the basement from the outside.
In the basement, there is a trap on a wooden chest. We jump onto the balcony above, there are 2 more chests with weapons. In the forge furnace we can make weapons.
To the right of the furnace there is a cracked wall, we break through it only with crushing weapons, such as a mace or a hammer. Let's enter the cave with cobwebs. There is nothing below the waterfall, we go along the bridge from the web. 2 ettercap spiders will attack. A little further phase spider.
In the south there is a living room, we collect scrolls and books, we learn that an elf lived here, turned into a spider. Nearby in one of the bodies we will find Boots of spider steps (do not get stuck in the web).
There are three types of enemies here: ettercaps, phase spiders, and phase spider matriarch. The stone you need is just under the phase spider matriarch.
There are a lot of enemies, but it is not necessary to fight them. Unhook the most agile character from the group and use the Hide action to get to the amethyst.
If fighting:
Boss: Phase Spider Matriarch. Sits in the western cul-de-sac of the cave. We use the most powerful scrolls on it or call on the ogres. If she stops at the bridge of the web, we burn it, the spider will fall and lose part of her life. After the victory, we take the Poisoner's Clothes from the body of the spider (10, +1 dexterity, + poison damage).
Save before opening and reading the book. You have to pass 3 Wisdom checks at once. In case of failure, the character will receive a negative status. Failure on the third check results in a permanent negative status of Malicious Knowledge.
If you successfully read the book after passing all 3 checks, you will receive the Speak to the Dead spell. In the Abandoned Ruins quest, you get an amulet with the same spell.
This completes the task.
We pass into the far corner, there is a circle of ancient runes. Rise to the surface to the Extinct Village
If suddenly the magician Gale turns out to be dead, we will hear his copy of the answering machine, he will tell the ritual with which he can be revived. We repeat all the steps in the answers: 1) take the bag, 2) purple seam, 3) four notes from the lower right corner, 4) Kha-sein.
We perform the following actions: 1) in Gale's inventory, take the "Purse", select the line "open", 2) purple seam. 3) We read the letter in the bag, remember the letter in the lower right corner - "D" (note D). We use the flute, select "play", "notes". A game??m: re, mi, la, re. 4) A dragon will appear, we tell him the name Kha-sein, we give the letter, we get a resurrection scroll.
When Gale comes back to life, we can ask him [persuasion, intimidation]. He will answer only one question: what is hiding, why many lives depend on him. Previously, he made a mistake, and now he is dangerous, even in death.
Warface launches the festive event Triumph in honor of Victory Day: the return of the PvP mode "Arsenal" and a new series of weapons.
The company hopes for a quick resolution to the problem.
FOSSiBOT, a brand founded in 2022 by a team of experts with over 10 years of experience, introduces F112 Pro 5G, the world's first eco-friendly rugged smartphone with a revolutionary approach to design and materials. After two years of development, the company releases a device that combines advanced technology, protection and a responsible attitude to nature.
He will be the last one for the game.
All materials on showgamer.com are protected by copyright. Partial copying is permitted with an open (for search engines) link. ShowGamer (2015)


 Our YouTube channel
 Our VK group

.jpg)
